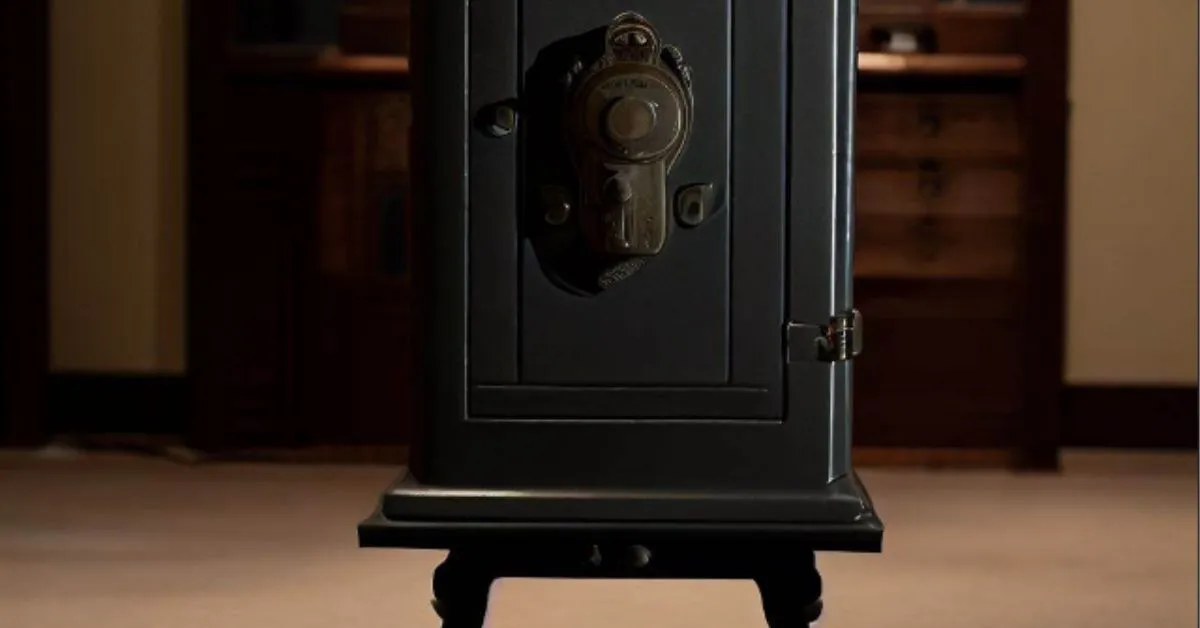
A gun safe is an essential piece of equipment for responsible gun owners.
It ensures the safety and security of your firearms, protects them from theft, and keeps them out of reach of children and unauthorized individuals.
However, to ensure your gun safe functions optimally and to avoid potential problems with its operation, it’s crucial to properly level it.
In this article, we will discuss the importance of levelling your gun safe and provide a step-by-step guide on how to level gun safe effectively.
How To Level Gun Safe?
Why Leveling Your Gun Safe is Important?
Leveling your gun safe might seem like a minor detail, but it plays a significant role in the safe’s performance and longevity. Here are some reasons why levelling your gun safe is crucial:
- Door Alignment: A level gun safe ensures that the door closes and seals properly. If the safe is not level, it can put extra stress on the locking mechanism and door, leading to misalignment issues over time.
- Boltwork Efficiency: Many gun safes have locking bolts or bars that secure the door when locked. Proper levelling ensures that these bolts engage smoothly and securely, enhancing the safe’s overall security.
- Prevents Structural Stress: Uneven weight distribution inside the safe can strain its internal structure, potentially causing long-term damage. Levelling helps distribute the weight evenly and prevents undue stress on specific areas.
- Ease of Access: A level safe makes it easier to access your firearms and valuables. An uneven safe may cause drawers or shelves to slide open or close on their own, making it frustrating to retrieve items.
- Improved Aesthetic: Leveling your gun safe ensures it looks clean and professional in your space, enhancing the overall appearance of your home or office.
Now that we understand why it’s essential, let’s explore how to level a gun safe properly:
Materials You’ll Need:
- Carpenter’s level
- Shims (wooden or plastic)
- A helper (recommended)
Step-by-Step Guide to Leveling a Gun Safe:
- Choose the Right Location: Start by selecting the ideal location for your gun safe. Make sure it’s on a stable and level surface. Avoid placing it on carpet, as it can compress over time, leading to an uneven surface.
- Prepare the Area: Clear the area where the safe will be placed. Remove any debris, obstacles, or items that might interfere with the leveling process.
- Position the Safe: With the help of a friend or a dolly, carefully position the gun safe in the desired location.
- Check for Level: Place a carpenter’s level on top of the safe, both front to back and side to side. Ensure that the bubble inside the level is centered in the level’s vial. If it’s not, you’ll need to adjust the safe’s position.
- Adjust Using Shims: To level the safe, use shims (thin wedges) under the appropriate corners of the safe. Lift the corners where needed and slide shims underneath until the bubble in the level is centered in both directions. Typically, you’ll need to place shims under the corners diagonally opposite to each other.
- Check Again: After placing the shims, recheck the level to confirm that the safe is now perfectly level.
- Secure the Safe: Once the safe is level, secure it in place to prevent accidental tipping or movement. You can use anchor bolts, lag screws, or other appropriate anchoring methods depending on the type of flooring.
- Test the Door: Finally, test the safe’s door by opening and closing it several times. Ensure it operates smoothly and latches securely.
Conclusion
Properly leveling your gun safe is a crucial step in ensuring its functionality and longevity.
It not only enhances the safe’s security but also prevents structural issues and makes accessing your firearms and valuables easier.
By following the step-by-step guide on how to level gun safe outlined in this article, you can confidently level your gun safe and enjoy peace of mind knowing your firearms are safely stored and easily accessible when needed.

