
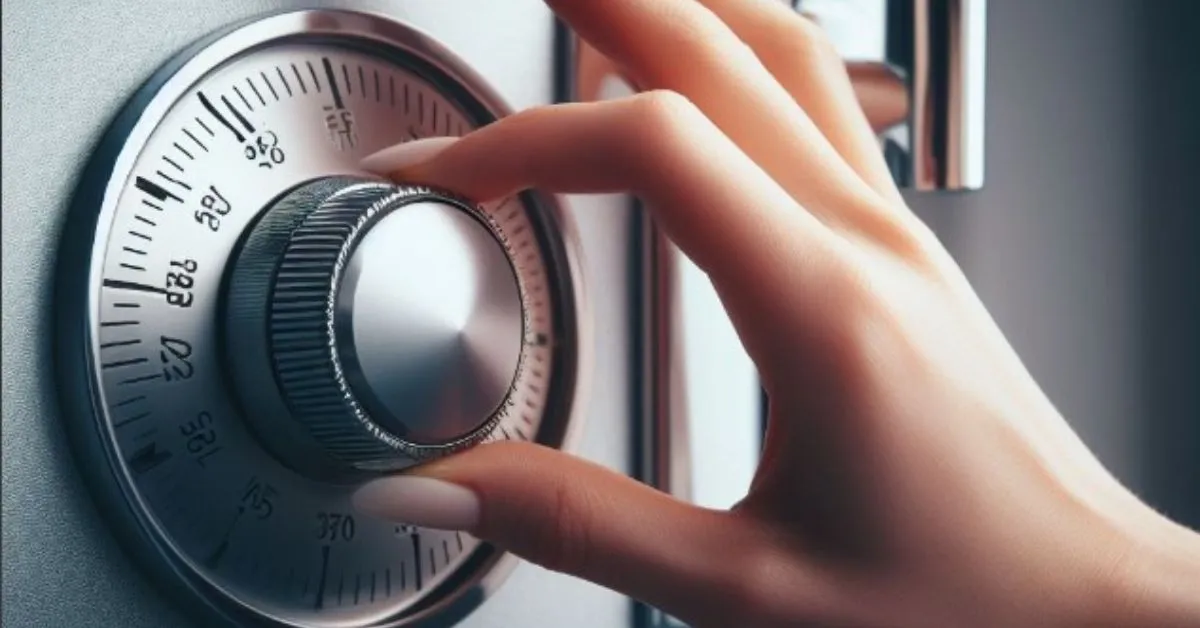
A gun safe is an essential piece of equipment for responsible gun owners, providing both security and peace of mind.
However, the effectiveness of a gun safe depends not only on its construction but also on how well it’s sealed.
How to seal a gun safe properly is crucial for protecting your firearms from environmental factors, thieves, and, in some cases, fire.
In this comprehensive guide, we will explore the importance of sealing your gun safe and provide step-by-step instructions on how to achieve an airtight seal for the utmost security.
Why Is Sealing a Gun Safe Important?
Protection from Environmental Factors: Gun safes are not just about keeping firearms secure; they also protect them from environmental conditions. Proper sealing ensures that your guns are shielded from moisture, dust, and other elements that could cause damage over time.
Security: An airtight seal not only prevents unauthorized access but also makes it harder for burglars to tamper with the safe. Even the most robust safe is only as secure as its weakest point, which can often be the door seal.
Fire Resistance: Many gun safes are designed to be fire-resistant. Sealing your safe correctly helps maintain its fire-resistance properties, ensuring your firearms remain safe in case of a fire.
Compliance: Depending on your local laws and regulations, there may be requirements for storing firearms securely. A properly sealed gun safe helps ensure compliance with such regulations.
How to Seal a Gun Safe
Gather the Necessary Tools: Before you begin sealing your gun safe, you will need the following tools and materials:
- Silicone caulk
- Caulking gun
- Cleaning supplies (e.g., rubbing alcohol and a clean cloth)
- Latex gloves
- A utility knife
Clean the Sealing Surface: Start by cleaning the sealing surface of your gun safe thoroughly. Remove any dirt, debris, or old caulk residue. Use rubbing alcohol and a clean cloth to ensure the surface is free of any contaminants. A clean surface is essential for a strong seal.
Cut the Caulk Tube Tip: Cut the tip of the caulk tube at a 45-degree angle, making sure the opening is slightly smaller than the gap you plan to seal. A smaller opening gives you better control over the caulk flow.
Apply the Caulk: Load the caulk tube into the caulking gun. Carefully apply a continuous bead of silicone caulk along the entire sealing area. Be consistent in the application to ensure an even seal.
Smooth the Caulk: After applying the caulk, use your finger (while wearing latex gloves) to smooth the bead. This will help ensure an even and watertight seal. Be sure to remove excess caulk as you go.
Allow the Caulk to Dry: The drying time for silicone caulk varies, but it typically takes about 24 hours to fully cure. Make sure not to open your safe during this time to allow the seal to set properly.
Test the Seal: Once the caulk is dry, gently close and lock your gun safe. Make sure the seal is airtight by trying to open the safe without turning the lock. If it doesn’t budge, your seal is secure.
Maintain the Seal: To ensure the longevity of the seal, periodically inspect it for any signs of wear or damage. If you notice any issues, reapply caulk as needed.
Enhancing Fire Resistance with Intumescent Strips
In addition to sealing your gun safe with silicone caulk, you can further enhance its fire resistance by using intumescent strips. Intumescent materials are designed to expand when exposed to high temperatures, creating a barrier that helps protect the contents of your safe. Here’s how to incorporate intumescent strips into your gun safe sealing process:
Select High-Quality Intumescent Strips:
Choose intumescent strips designed for high-temperature resistance and durability. These strips are often made of a combination of materials like graphite, sodium silicate, and other fire-resistant compounds. You can find these strips at most hardware stores or online retailers.
Measure and Cut the Strips:
Measure the perimeter of your safe door and cut the intumescent strips to fit. Ensure the strips are long enough to cover the entire sealing area when the safe door is closed.
Clean the Application Area:
Just as with silicone caulk, clean the surface where you will be applying the intumescent strips. Remove any dirt or debris that could hinder adhesion.
Apply the Strips:
Peel off the backing from the intumescent strips and carefully press them onto the clean surface around the perimeter of the door. Make sure they adhere securely and form a continuous seal.
Close and Lock the Safe:
Gently close and lock your gun safe to ensure the intumescent strips are not impeding the door’s proper closure. The strips should compress when the door is locked, forming a fire-resistant barrier.
Test the Seal:
As you did with the silicone caulk seal, test the door to ensure that the intumescent strips create a secure and airtight seal. If you encounter any issues, adjust the strips as needed.
Maintain and Inspect:
Periodically inspect the intumescent strips for any signs of wear or damage. Over time, the strips may need replacement if they have been exposed to extreme temperatures or have deteriorated.
Conclusion-
Sealing your gun safe is crucial in maintaining its security, environmental protection, and fire resistance.
Following the steps outlined in this guide on how to seal a gun safe, you can achieve an airtight seal that will keep your firearms safe for years.
Regular maintenance and inspections will help ensure your gun’s safe seal remains strong, providing peace of mind and compliance with local regulations.
Remember, a properly sealed gun safe is fundamental to responsible firearm ownership.